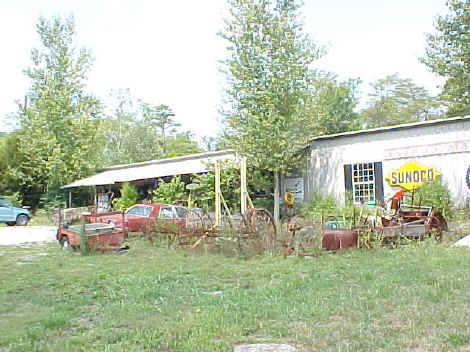
| Maker, Warren Telechron, Inc., Ashland, Massachusetts, USA. Model Type E, c. early 1930's, serial no. 17. Below is a photo of the antiques shop that the clock was in. It was located in a very remote town in the Tennessee Appalachian Mountains.
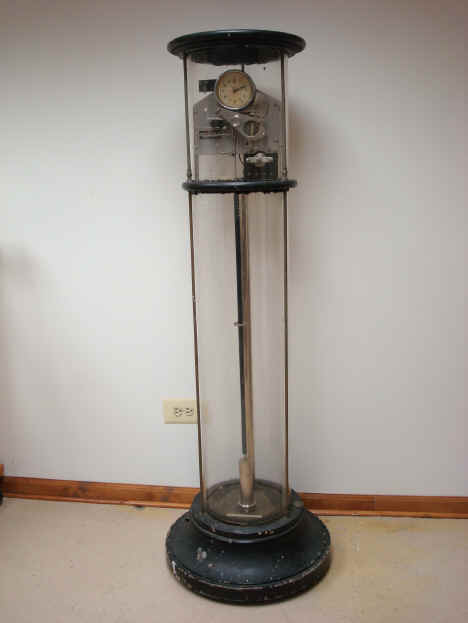
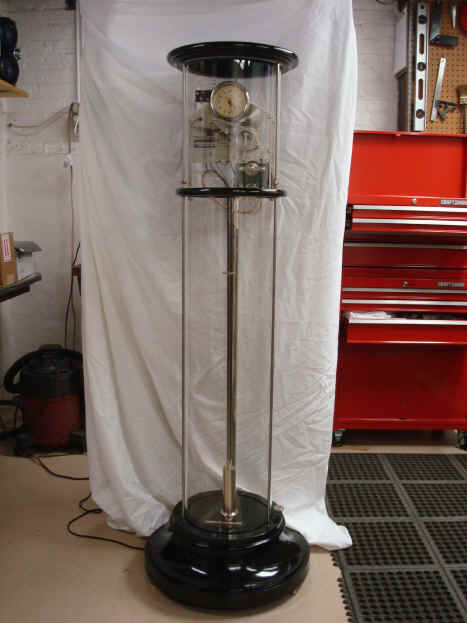
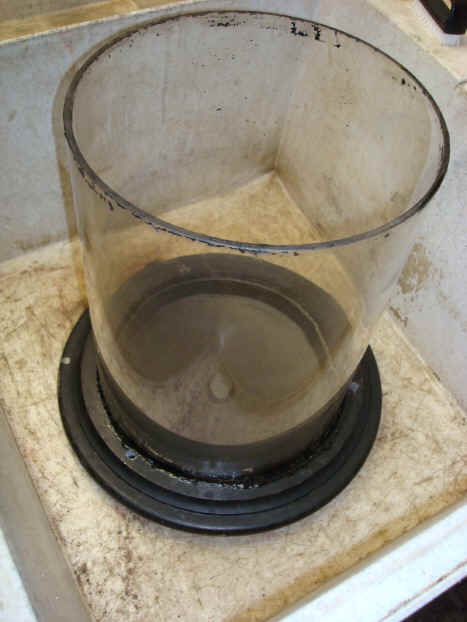
Below are a few of the before and after shots of the clock.
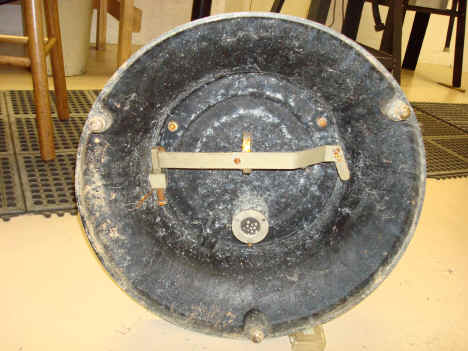
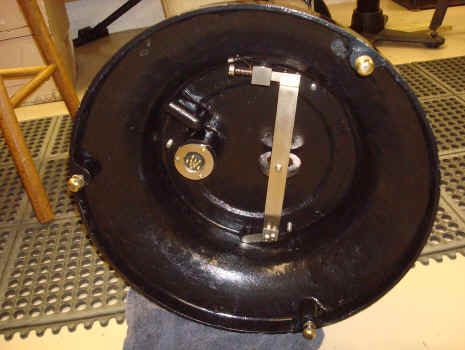
Photos below show the adjustable magnet armature. The magnet is mounted to a pivoted arm. A threaded screw allows this arm to be raised and lowered thus altering its proximity to a ferrous ring connected to the pendulum bob.
The suspension spring was broken. The sloppy riveting job and malleable spring material indicate that the spring was not original. Replacement is shown before final dressing.
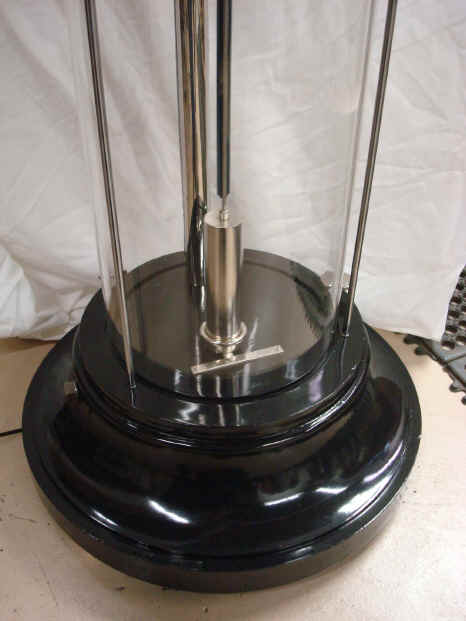
All of the steel rods that hold the glass cylinders to the aluminum case parts were badly corroded and had to be resurfaced and lacquered. The last photo shows where the clock was located in the store. Notice the 300 LB artillery shell balanced precariously nearby!
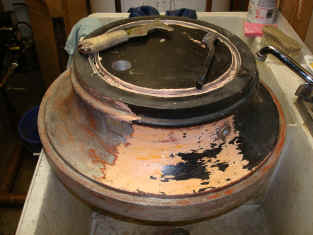
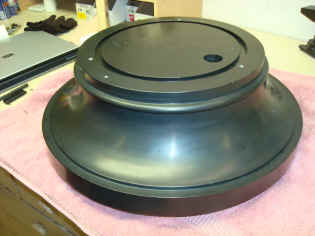
One of the most difficult and time consuming parts of the restoration was the aluminum case components. First the old paint and thick layers of filler and stabilizer had to be removed. The third photo shows the bare metal. One can see the mottled appearance of the surface. These parts were cast, and there were many casting flaws throughout the surface.
Next the aluminum primer was applied. This was a relatively thick product and so worked well as a filler. Five coats of primer was applied and after each coat the surface was sanded down. The second photo shows the initial coat of paint. Four coats of paint were applied and after each coat the surface was sanded and finished down to a quad zero steel wool (0000) and 1500 wet dry sand paper. Compare the last photo of the surface of the concave base to that of the bare metal just above it. All holes were plugged during this process.
The final coat was then rubbed with three successive grades of automotive paint rubbing compound and then final wax polish. The finished base below. Second photo shows the movement disassembled and ready for refurbishment. Last shot is the final wiring in of the electrical systems.
|