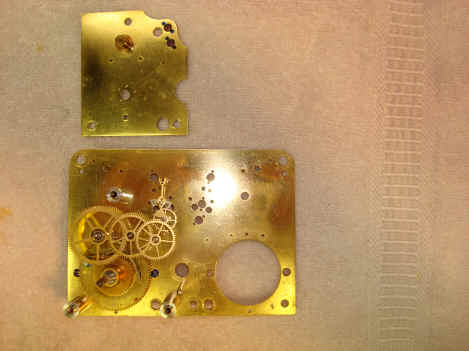
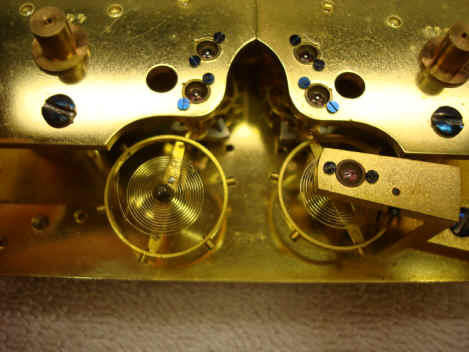
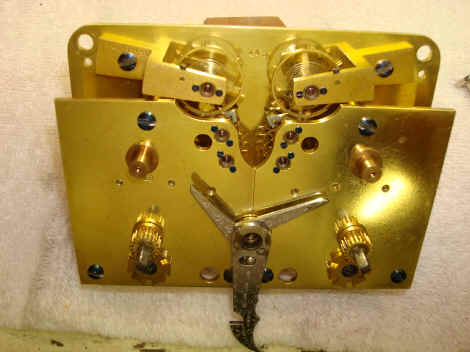
Sargent & Greenleaf, model #4 version 2. c. 1884, restoration page 3. After all parts have been cleaned and jewel and pivot holes properly pegged, reassembly is begun. Pegging is the use of wood to get any debris or oil left over from the cleaning process out of the hole. A toothpick twirled in the hole works well for this. One must always be careful to have the jewels properly secured when working as they can be easily lost or damaged if they fall to the floor. Unlike the model #2, the model #4 has the balance wheel cocks mounted on the same plate making reassembly much easier. It's very important to have the balance wheel spring correctly positioned within the hole that will receive the peg to pin it tight. The spring end must be parallel to the rest of the coils and it's length of insertion into the hole such that the balance wheel roller pin is dead center to the escapement fork. Otherwise the escapement will never run correctly. This can be a bit tricky
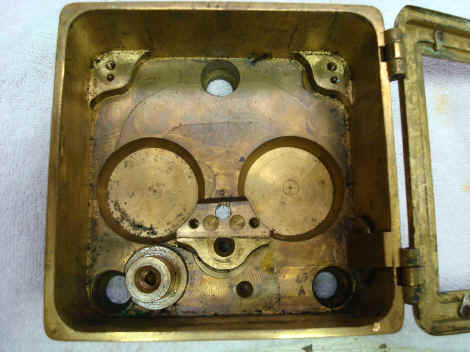
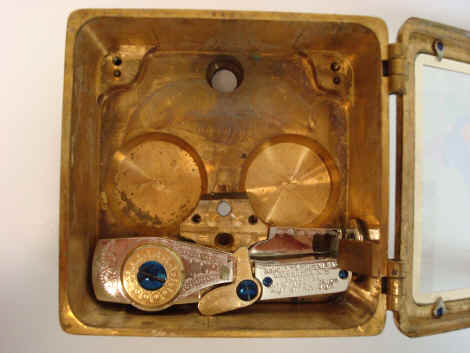
Once the movement is complete the next step is the case, bolt mechanism and glass hardware. The first shot is prior to cleaning, I forgot to take a shot of the empty case after cleaning. Next the bolt hardware is installed.
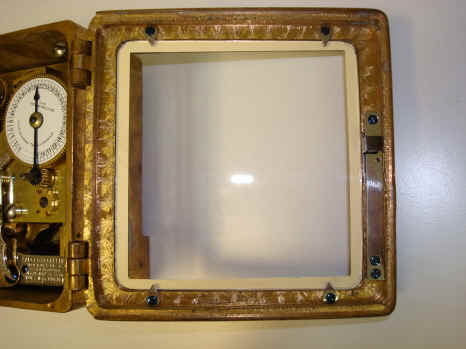
A new glass and gasket is made. The lock is disassembled cleaned oiled and of course all screws refurbished. The last object below is a set of videos showing the cleaned movement operating.
|
![]()
![]()