|
Begin preparations for rating the clock - May 2016 This month we enter
into preparations for the rating of the clock. Up to this point all we did
was to make sure the clock would run reliably without stopping. So far the
machine has shown a propensity to
want to run. In other words the few unexplained stoppages that have occurred
have since been corrected.
This, however, is a far cry from the clock running
accurately. The use of compound
pendulums makes this even more problematic since a compound pendulum has
less stability than a plain pendulum. John Harrison, upon whom our clock
escapement is based upon, knew of these issues and finally solved the
longitude problem with a watch that did away with the compound pendulums in 1761.
All parts connected with the accuracy of how the clock will perform will have to be brought to their final finish. All of the pillars that are used in this system have yet to be decoratively turned. The removal of material in this process will far outstrip anything removed in the polishing stages. This is necessary since the process of finishing removes material and therefore, changes mass, inertia and fine dimension. The result is that the clock, all other things being equal, would tend to run faster. These parts include the balances, and escapement. It is not necessary to do the entire time train since we only need to be concerned with the mechanism after the remontoire, which is the source of power to the escapement and not the main weight and wheel train associated with that assembly. But while in a conventional clock the escapement and pendulums may have a few dozen parts associated with this system, this clock has well over a hundred and fifty. For the next few months it will appear
that little is being accomplished, but one must remember that
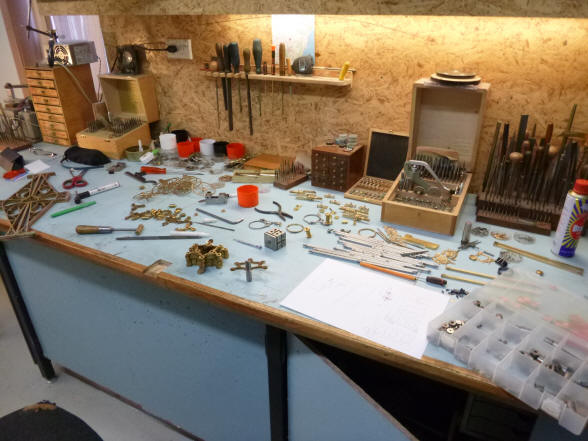
The main supports for
the pendulum structure and ant-friction wheel sets are the first to be done, Buchanan writes:
I am filing bosses today. There are 60! On the antifriction wheel frames
alone. 3 minutes filing on each, 3 hours nonstop filing to rough finish then
we move on to sand paper, then onto the rest of each part. So this is going
to take a few days. The electrics have all
arrived and preliminary tests all
look very promising. The electronics
he refers to is the Microset timer purchased to begin the process of the
rating for the clock.
I asked Buchanan what
the stages of polishing grit were in the process. He responded it was 240,
then 1000 both on the polishing machine. Then 2500 grit by hand. By using
the customized jeweler’s saw in the initial cut of these as well as most
other parts, Buchanan estimates that he has been able to eliminate three earlier,
coarser grades of sand paper as well as 90 percent of initial the filing
work.
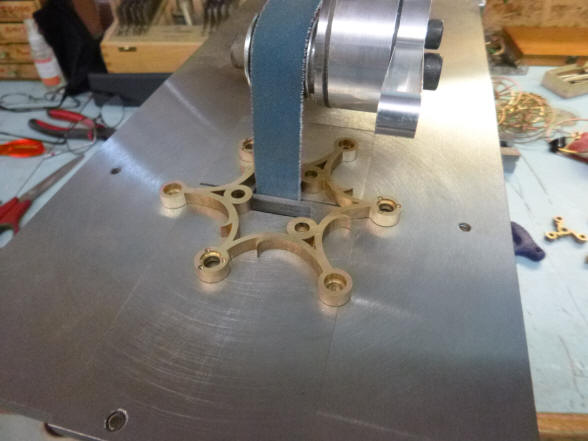
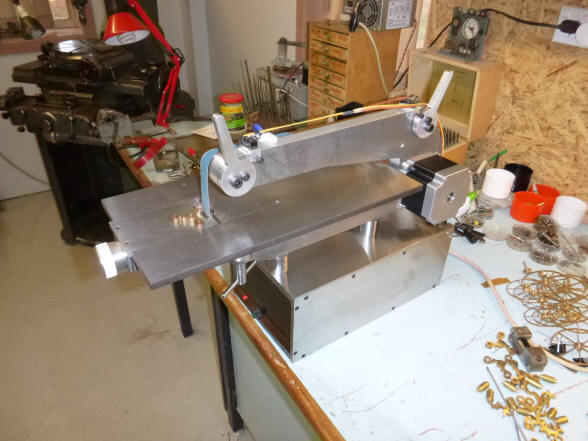
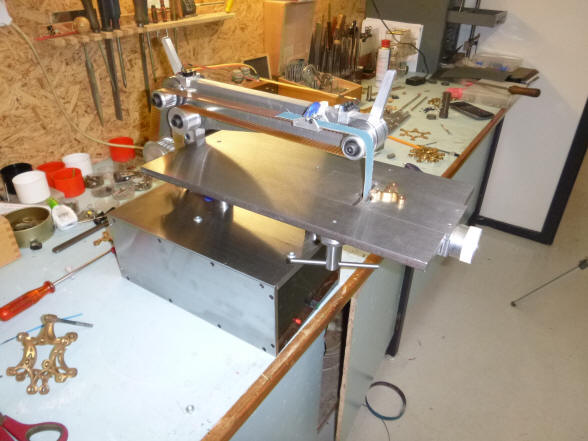
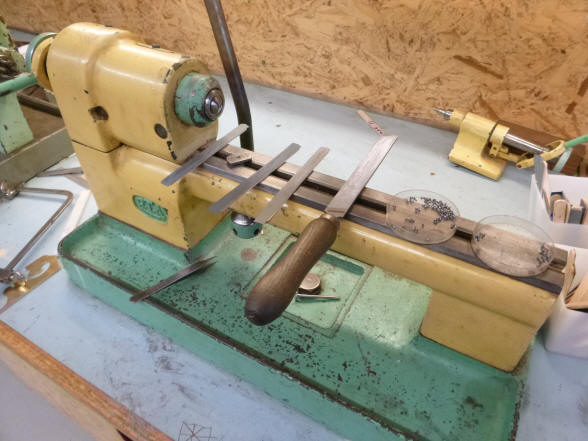
The video demonstrate the machine Buchanan has created that should help to automate the final finishing process for the hundreds of parts within the astro-skeleton project. The machine bears similarity to a conventional band sander. However, this machine does not need pre-made continuous loop sand paper which is expensive and limited in the available sizes and grits. This machine can accept strips made from any flat stock sand paper. The speed is also variable.
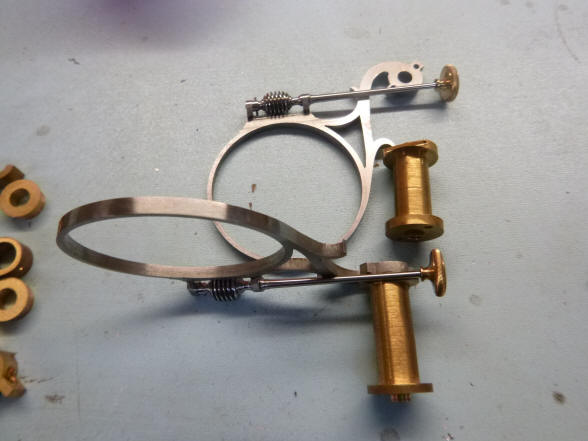
We now begin to get
into the minutia of the various components that make up the balances. Notice
pillars are yet to have a decorative turning.
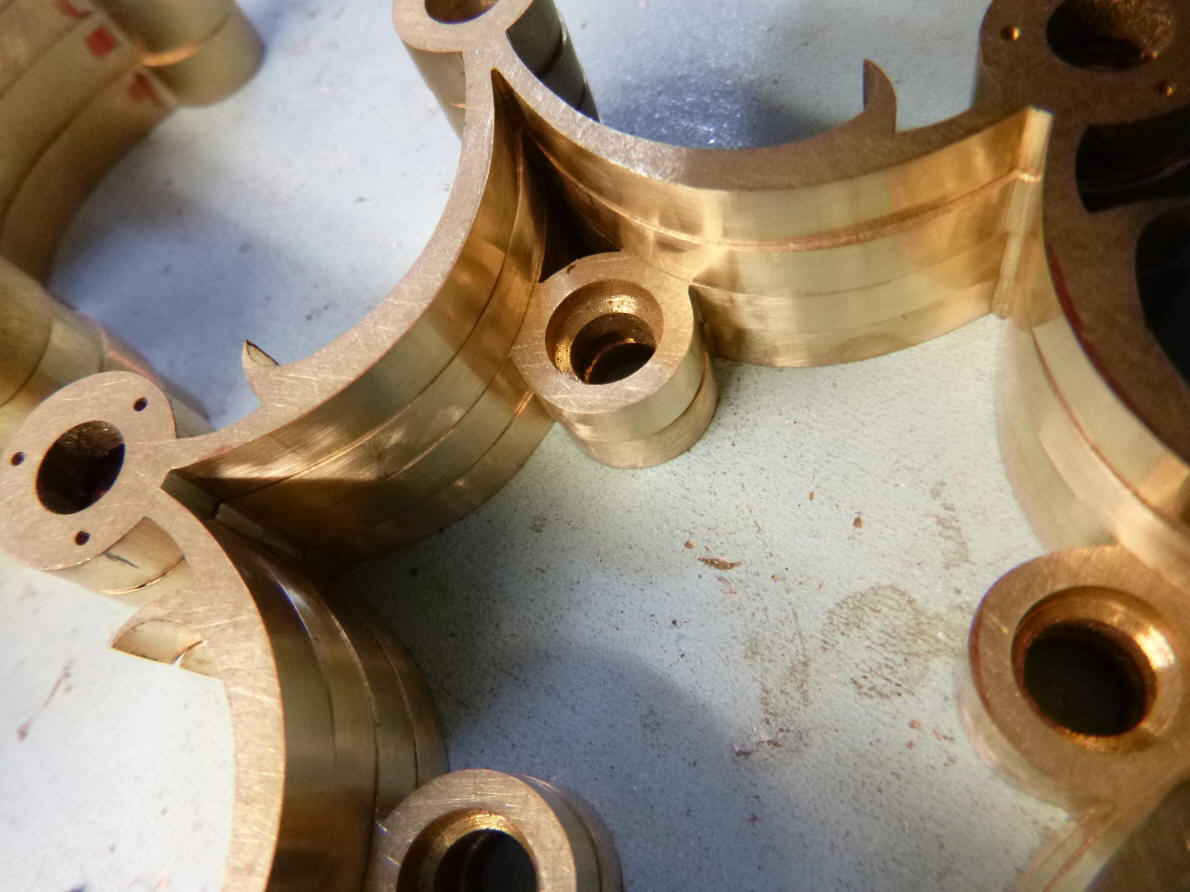
Here we see all of the inner curves brought up to the 2500 grit level. These are ready for final polishing with rouge and cloth.
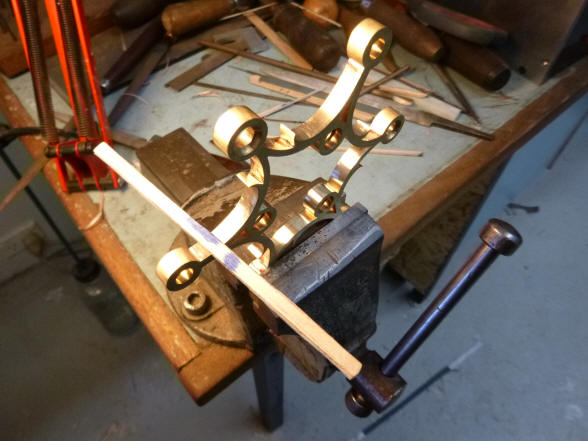
Now the outside curves begin to be finished. One can see that the concave surfaces need to be finished by hand using sandpaper sticks. All pendulum frames are now brought to 2500 grit finish.
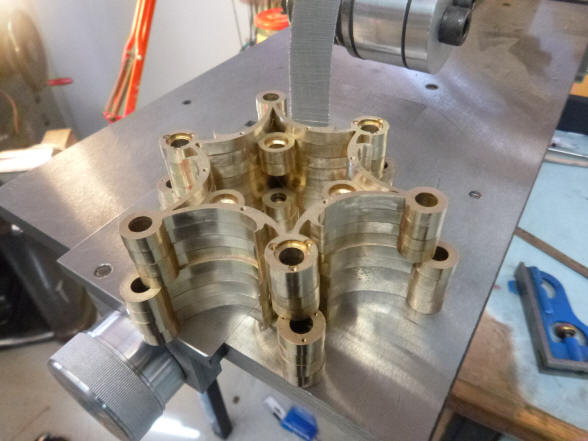
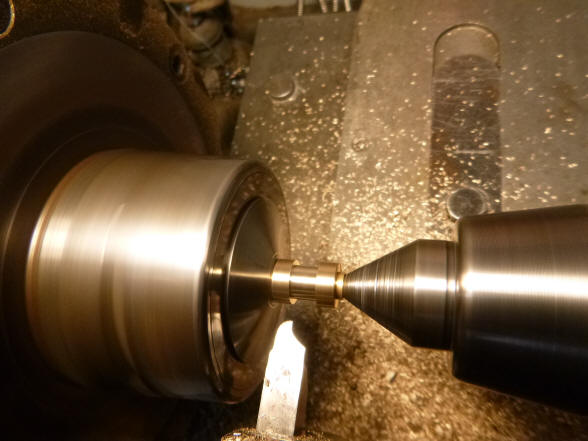
Here is where most of the material is removed to change the mass of the escapement. The first stage is shown here.
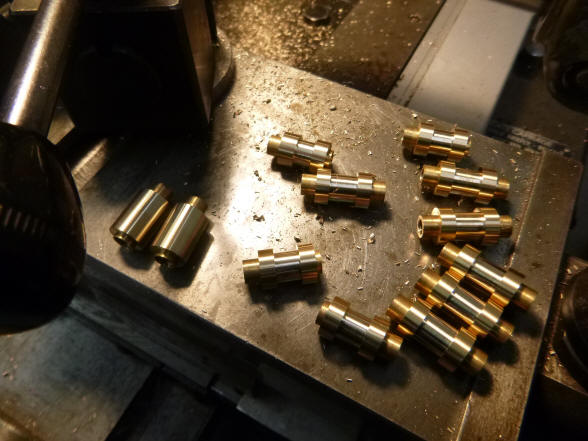
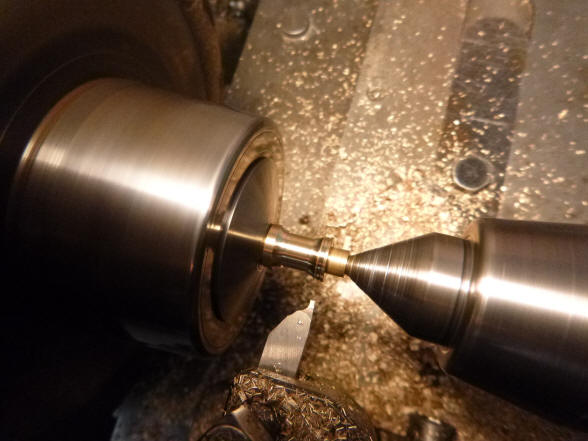
Additional decorative turning.
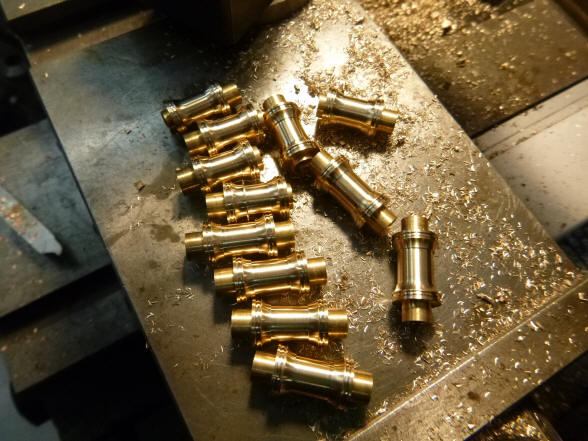
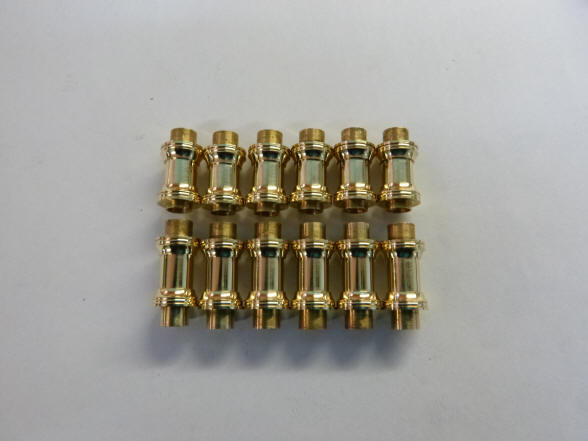
The completed pillars
that act as spacers for the frames which hold the pendulum anti-friction
wheel sets are finished. The last photo shows the pillars drying after being
sprayed with lacquer.
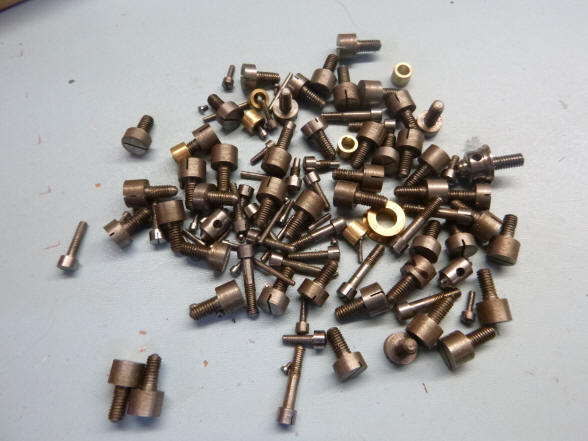
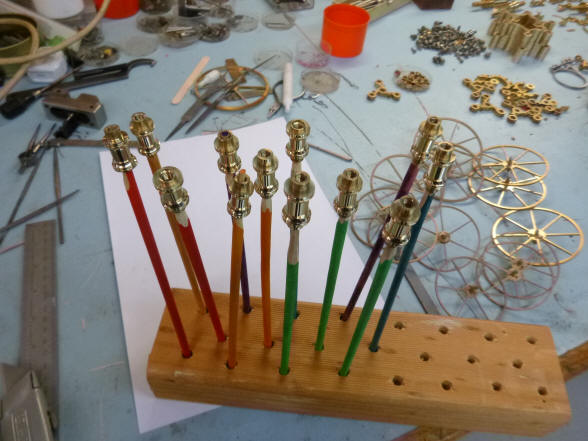
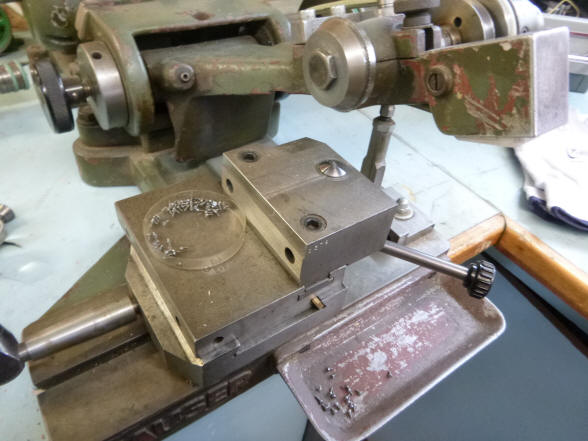
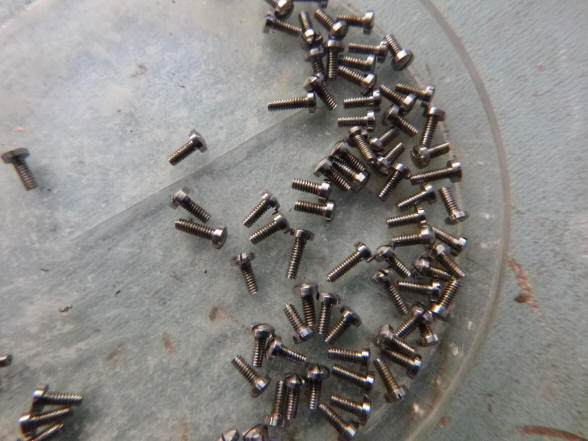
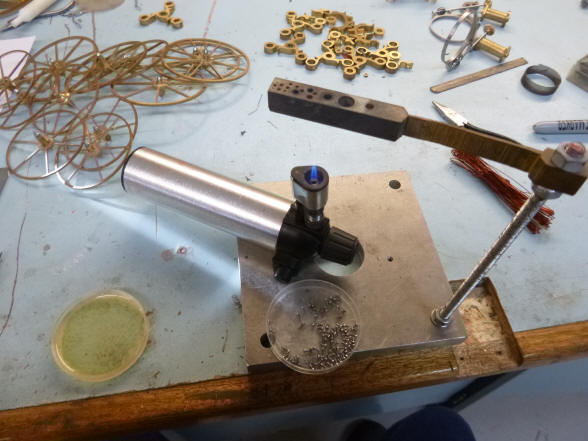
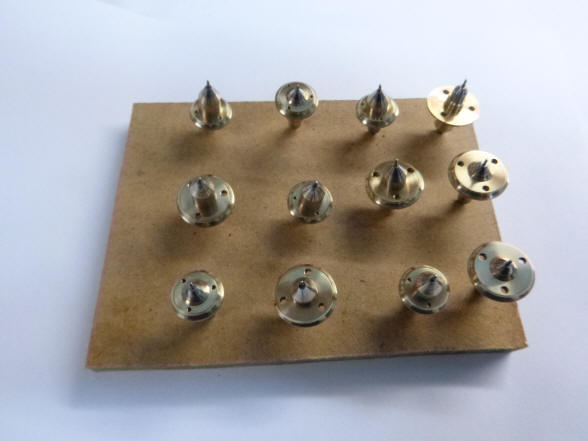
Now on to finishing the screws. The second photo shows the small lathe equipped with a collet to hold each screw individually as they go through the four finishing steps,
A dish full of finished screws before bluing. There are 70 just within the field of view. Next the screws are inserted into the heating block. The block is purposefully massive so as to act as a heat sink. Once brought up to temperature it will tend to hold it giving a better control over temperature. One still has to carefully watch as the steel goes through the color transition from straw to various shades of blue. After blue comes shades of purple and if left too long, a dull grey.
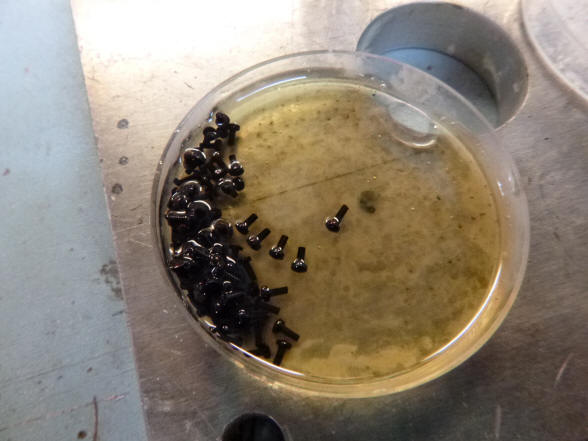
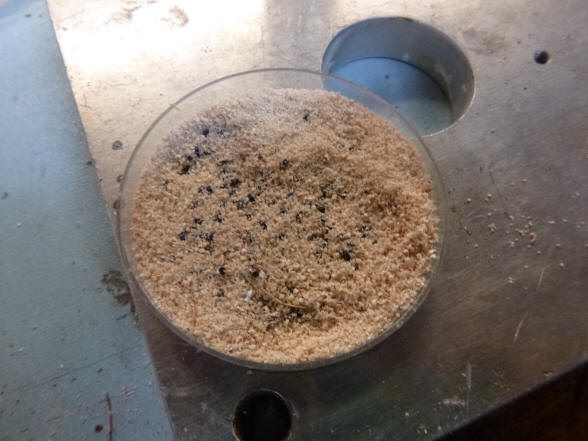
At just the right moment each screw is removed from the heating block and put into the quenching tray filled with oil. The oil draws heat from the screw stopping the process so the screw cannot continue to turn past the desired color. The oil also helps to protect the surface from corrosion. Next the screws are dried in saw dust. These bluing steps and methods, with the exception of the heat source being a torch rather than an oil burner, are the same as practiced by skilled horologists for hundreds of years.
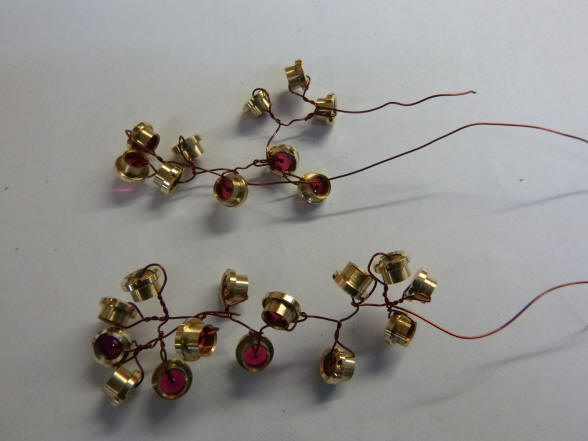
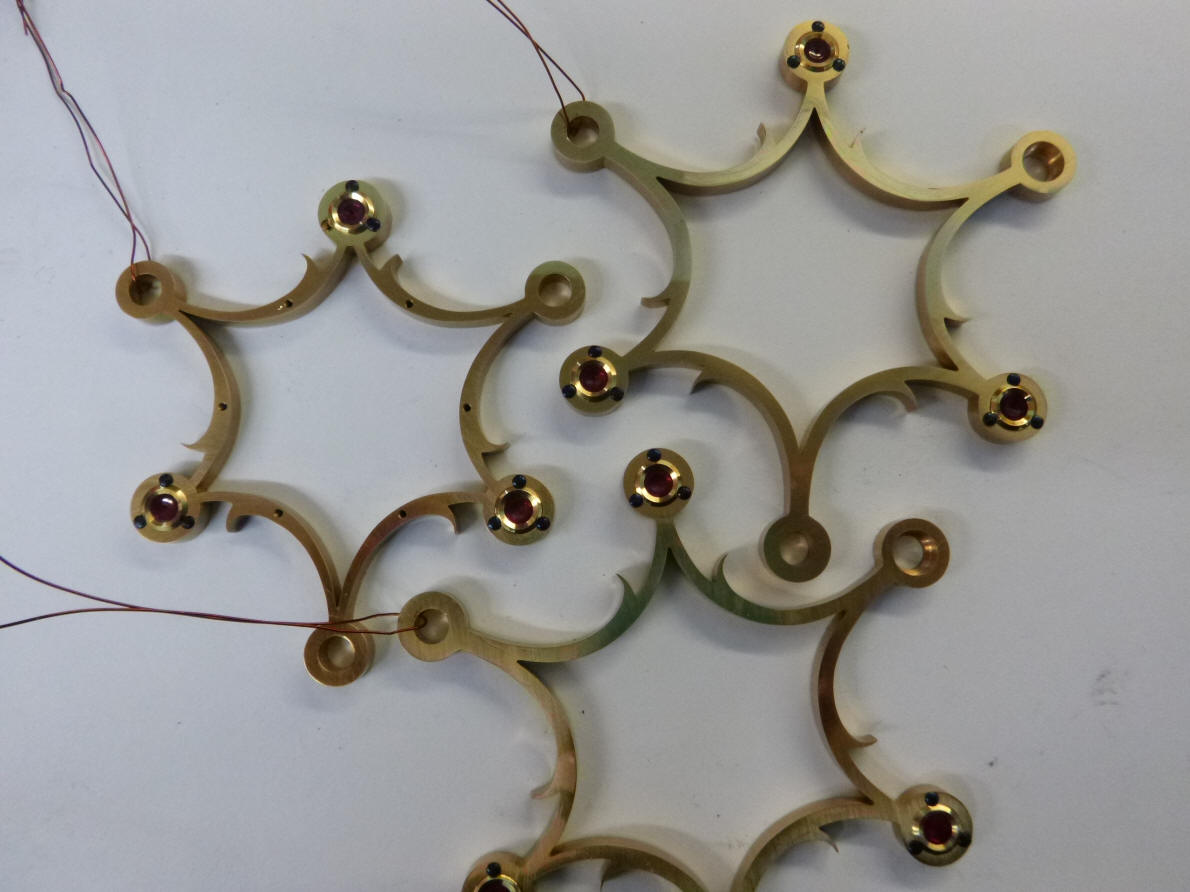
The jewel chatons are
held by wires to keep them from knocking around and into each other during
the final cleaning process in the ultrasonic machine.
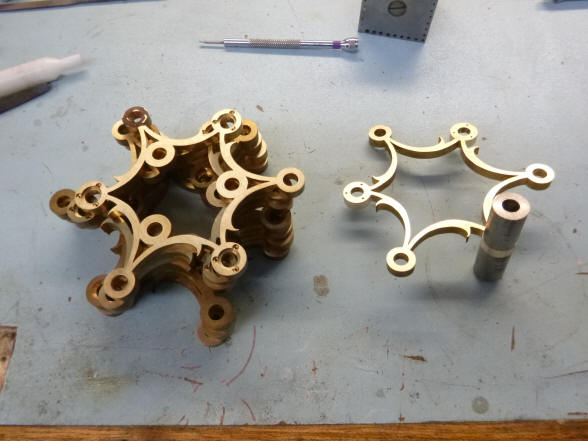
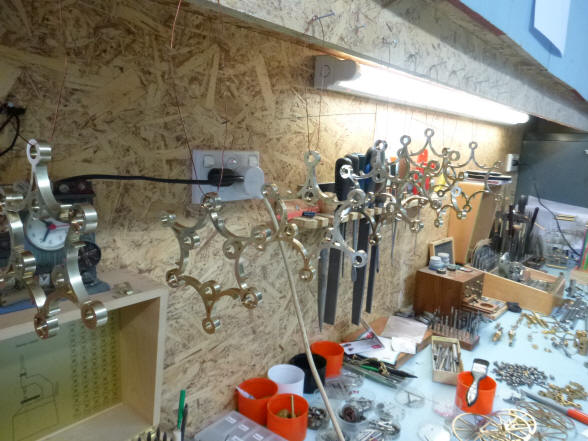
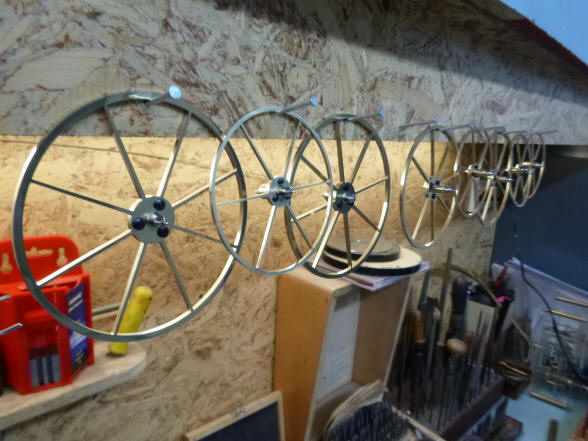
The anti-friction wheel frames are now lacquered. The pieces are left here hung out to dry. This is not where the lacquering actually took place. Buchanan writes: The frames are lacquered. On Monday I will start on the antifriction wheels. These should go quite quickly as they are made of thin plate and not many curves. After that there are the diagonal bracket ends. The main balance frames and the grass hoppers. The grass hoppers are largely polished from years back. The work Buchanan is referring to was done in February 2009, seven years ago.
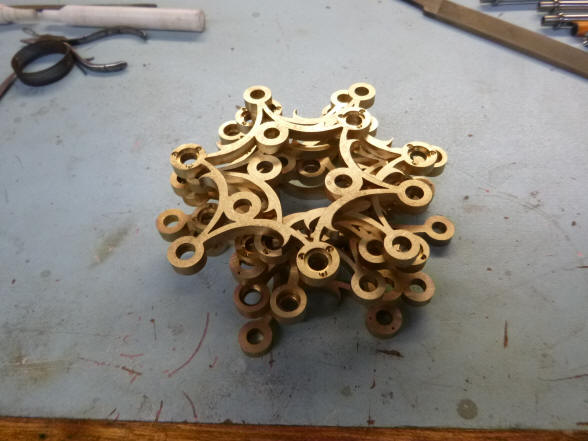
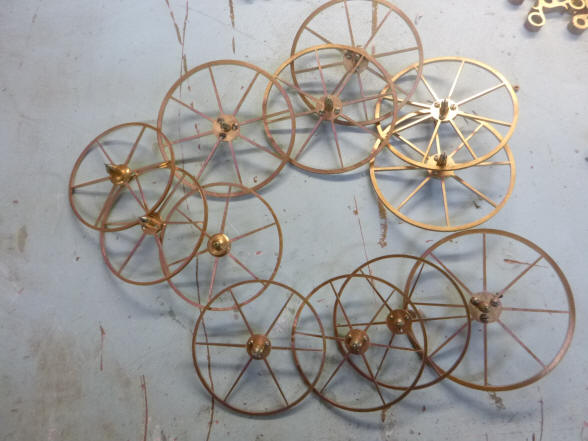
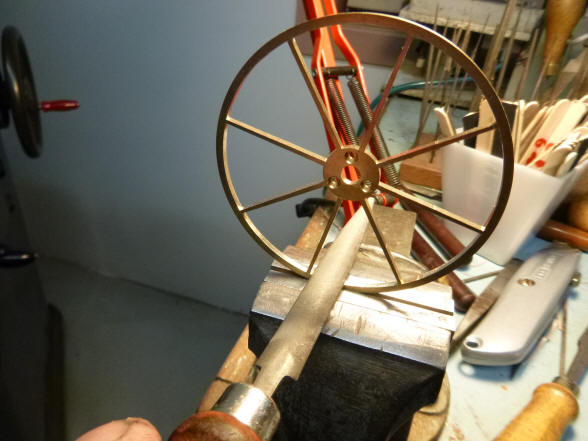
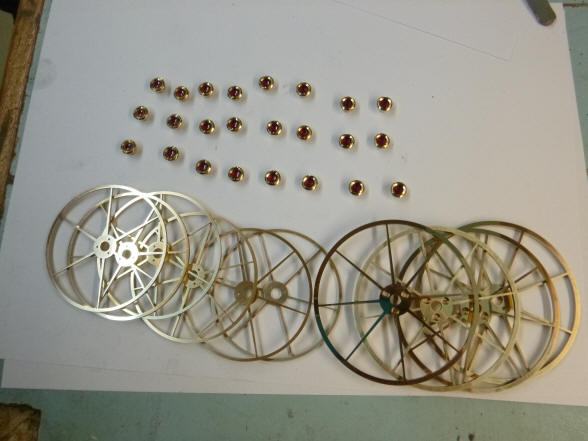
The eight, six spoke
escapement and six, eight spoke pendulum anti-friction wheels are now
brought to final finish.
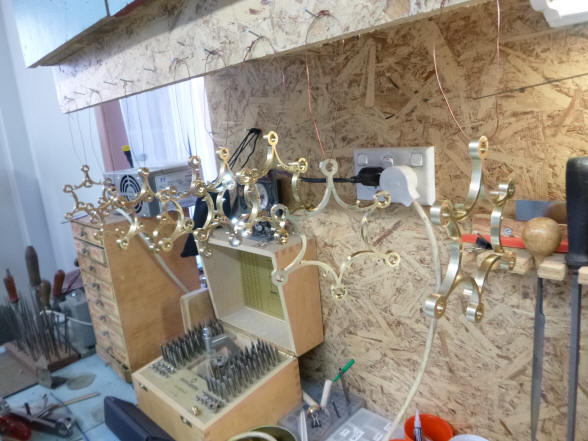
The antifriction wheels
which support the escapements and pendulums are now hung out to dry, after
being lacquered.
Left photo shows the antifriction wheel collets, right the completed wheels, polished wheel, collets and blued screws.
Finished antifriction wheel frames with jeweled chatons. |


![]()
![]()
![]()